View and Edit Models
Meshlab
You can drag and drop different OBJ and PLY files as layers.
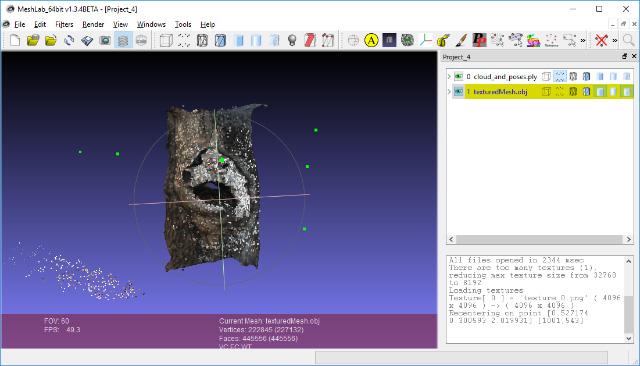
So in this case I have a layer for both the final mesh and the SFM points/cameras. Sometimes the mesh smoothing step can be a little too aggressive so I find it useful to compare between the original mesh and the smooth mesh. If the mesh looks broken, the PLY sfm data and the OBJ meshes are great for tracing through the pipeline.
clean up / delete / smooth
The first thing you want to do is to rotate your model and align it with the coordinate system.
You can import the obj into Meshlab then go to Filters :math:`Rightarrow` Normals, Curvatures ** and **Orientation :math:`Rightarrow` Transform: Rotate ** ** and align it yourself from there. ** **
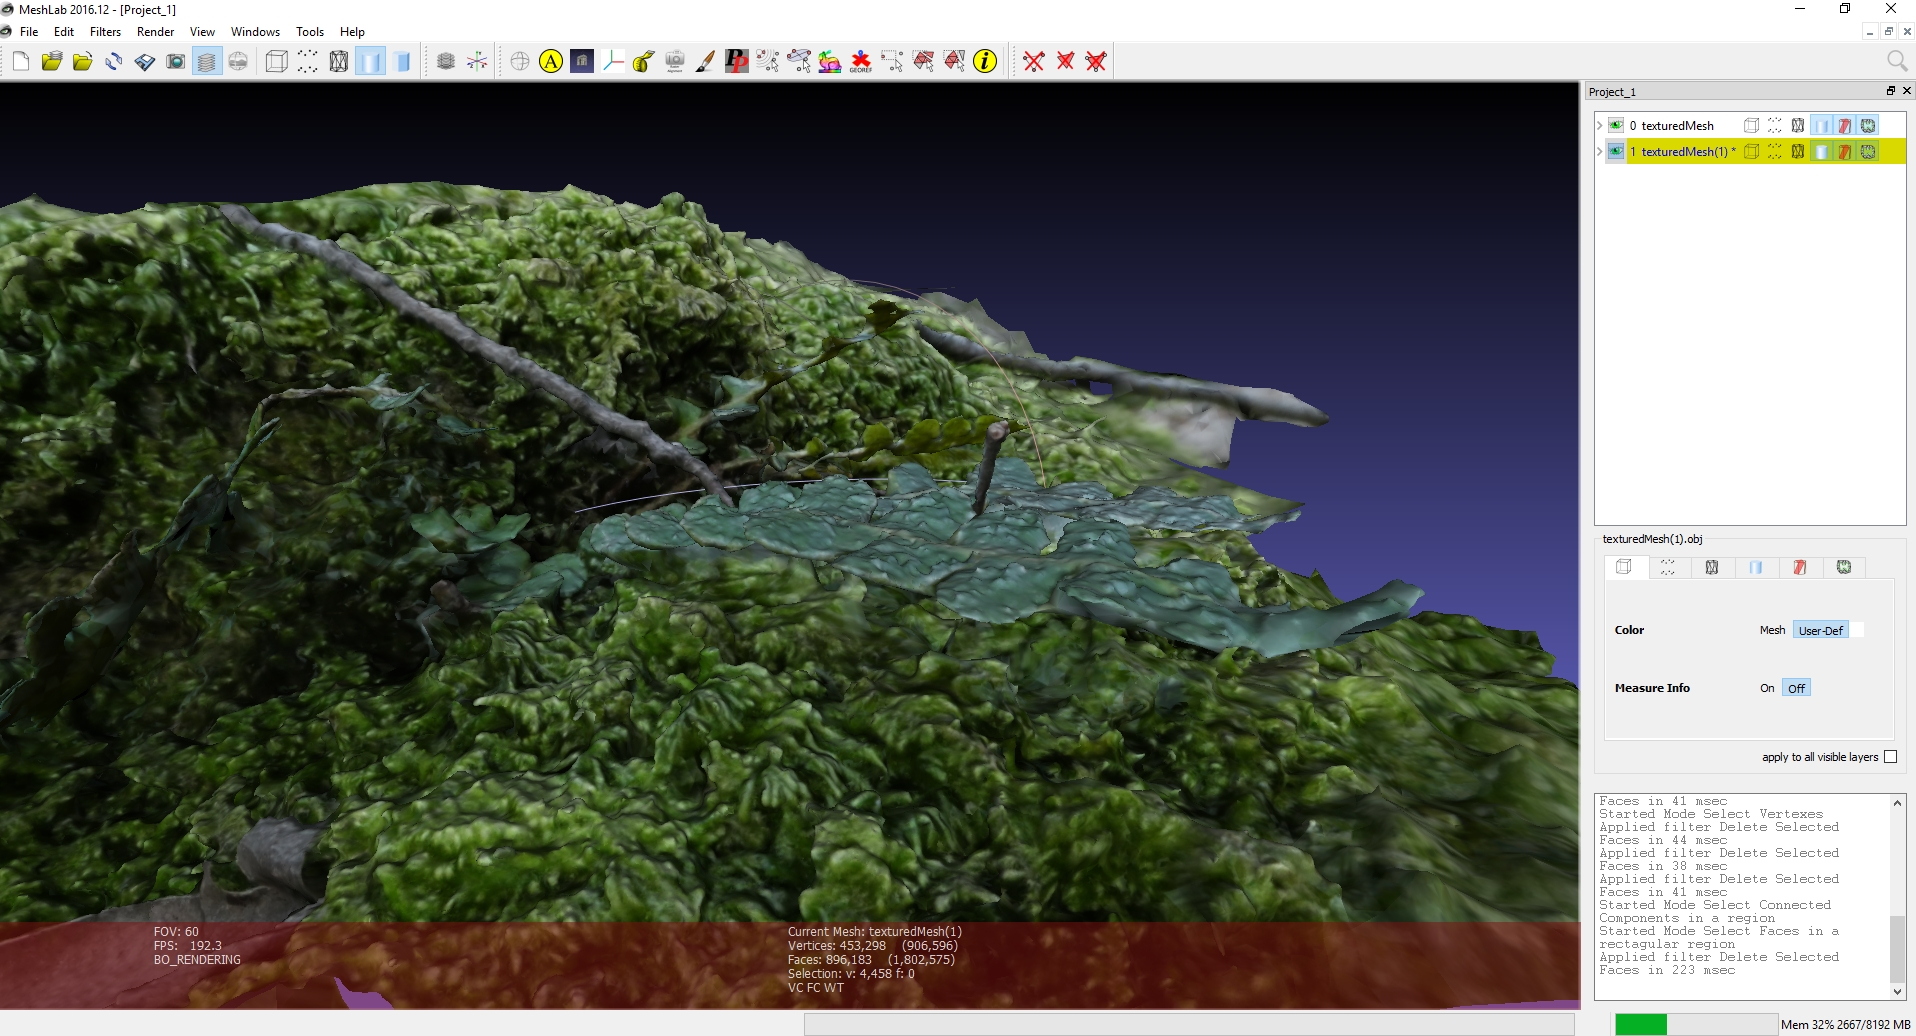
There might be some parts of the model or the scene you want to remove.
You can select ….. then remove…
http://www.banterle.com/francesco/courses/2017/be_3drec/slides/Meshlab.pdf
www.scanner.imagefact.de/tut/meshlabTut.pdf
Smooth mesh
If you don’t like the smoothing results from Meshroom, you can smooth the mesh yourself.
http://www.cs.cmu.edu/~reconstruction/advanced.html#meshlab
Tutorials by Mister P. MeshLab Tutorials MeshLab Basics: Navigation
MeshLab Basics: Selection, part one
MeshLab Basics: Selection, part two
Cleaning: Triangles and Vertices Removal
Blender
For detailed instructions visit the blender homepage or the blender youtube channel .
Here is a quick tutorial on how to optimize photogrammetry objects inside Blender: How to 3D Photoscan Easy and Free!
https://www.youtube.com/watch?v=k4NTf0hMjtY
meshing filtering 10:18 / 13:17 blender import
Meshroom2Blender Blender Plugin
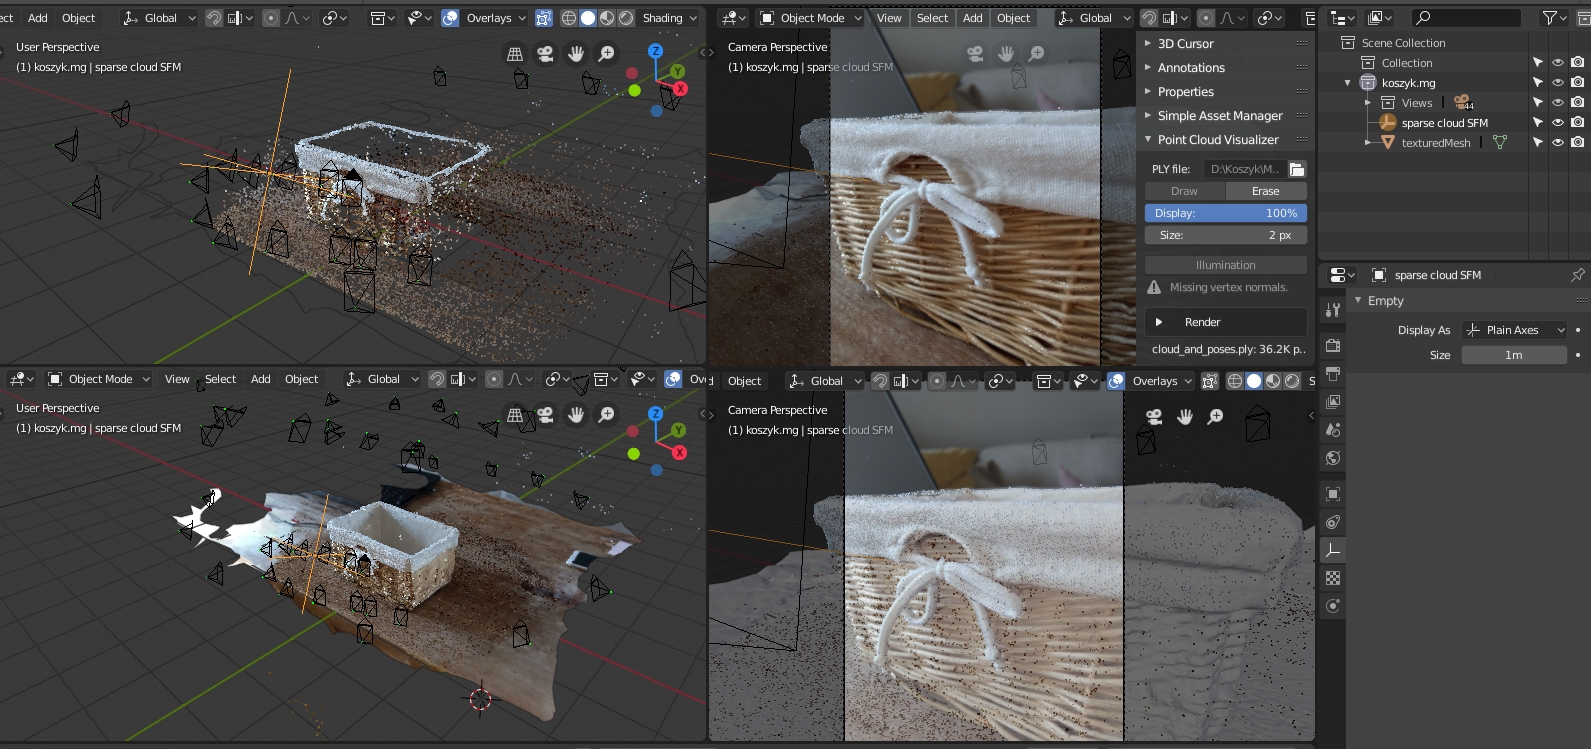
Blender importer for AliceVision Meshroom
datafiles: cameras, images, sparse pointcloud and obj’s.
Basic implementation of Meshroom importer. If you have sophisticated node tree it will use only the first nodes from the file. Addon assumes you did compute each stages/nodes, and the output is same. Visit the Github project site for details.
BlenderLandscape
Addon for Blender 2.79b. 3DSurvey Collection of tools to improve the work-flow of a 3D survey (terrestrial or UAV photogrammetry). Import multiple objs at once (with correct orientation), for instance a bunch of models made in Meshroom. https://github.com/zalmoxes-laran/BlenderLandscape
Instant Meshes
https://github.com/wjakob/instant-meshes
includes quick intro
why do we want to use it? It is a really fast auto-retopology solution and helps you create more accurate meshes

CloudCompare
3D point cloud and mesh processing software
Open Source Project
http://www.danielgm.net/cc/release/
tutorial
http://www.danielgm.net/cc/tutorials.html
Export model to Unity
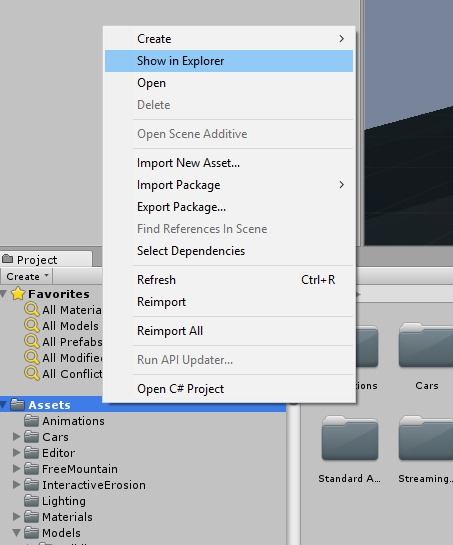
Start Unity, open your project and your asset folder.
Navigate in the file Explorer of your OS to the assets subfolder where you want to store your Photogrammetry object.
Copy the model.obj and texture.jpg (or other supported file types) from the Meshroom Export folder to the Unity assets subfolder.
Open Unity and wait for the auto-import to complete.
You might want to optimize your mesh and texture for ingame use.
Now you can add your model to the scene.
There is a little more to do to create a simple demo game, like adding a Mesh collider, optimize the texture,…
For detailed instructions visit the Unity homepage .
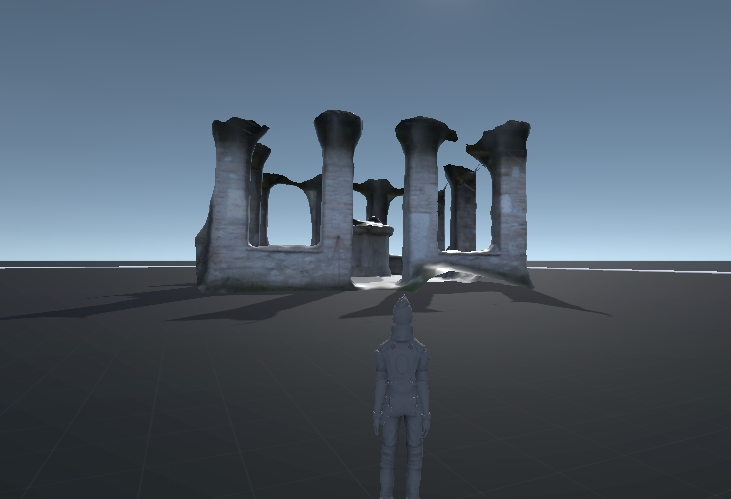
Here is a manual on how to optimize photogrammetry objects inside Unity: Unity Photogrammetry Workflow .. image:: 100000000000076E00000401AC14E84A53702851.jpg
Export to Maya (Plugin)
MeshroomMaya (v0.4.2) is a Maya plugin that enables to model 3D objects from images.
https://github.com/alicevision/MeshroomMaya
This plugin is not available at the moment.
Use the Export to Maya node instead.
Alembic bridge
Export from Meshroom for Maya
Use the Export to Maya node to export the Alembic ABC file
Import in Nuke/Mari
In menu “NukeMVG  Import Alembic” , .abc file can be loaded. The tool create the graph of camera projection. Result can be export to Mari via Nuke + Mari bridge.
SideFX Houdini Plugin
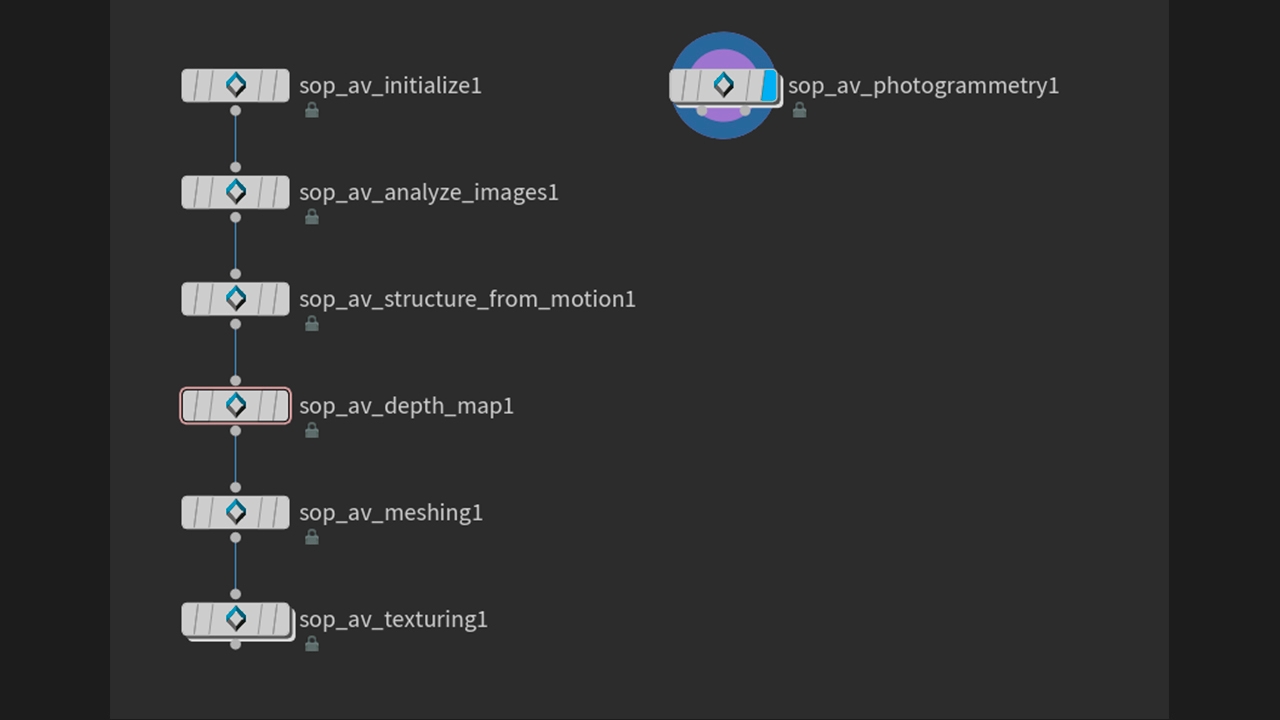
An implementation of Alicevision is available in Houdini as part of the (free) GameDevelopmentToolset.
You can find Installation Instructions on the following page: https://www.sidefx.com/tutorials/alicevision-plugin/
Review (german):
https://www.digitalproduction.com/2019/02/26/alicevision-photogrammetrie-in-houdini/
Students can download the free learning edition called ` <https://www.sidefx.com/products/compare/>`_ Houdini Apprentice . This is a node-locked license that has all the features of Houdini FX with some restrictions such as a limited render size and a watermark on final renderings.