Linux
Download the binary from Meshroom home page

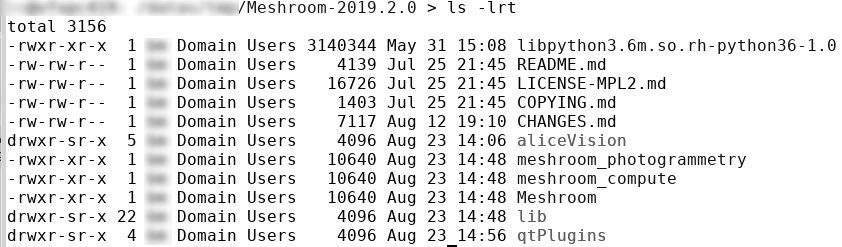
Unzip it in any folder.
Open a terminal and from this folder run:
./Meshroom
to launch the GUI.
The pre-built binaries also contain the meshroom_compute and meshroom_photogrammetry to run and create pipelines from the command line.
Set up environment
Meshroom requires a build of AliceVision and need to have AliceVision installation in your PATH and LD_LIBRARY_PATH.
Your PATH should contain the folder where the AliveVision binaries can be found.
Suppose ALICEVISION_INSTALL contains the directory where the library is installed, then
PATH=$PATH:${ALICEVISION_INSTALL}/bin
Note
On some distributions (e.g Ubuntu), you may have conflicts between native drivers and mesa drivers, resulting in an empty black window. In that case, you need to force usage of native drivers by adding them to the LD_LIBRARY_PATH:
LD_LIBRARY_PATH=/usr/lib/nvidia-340:$LD_LIBRARY_PATH
You may need to adjust the folder /usr/lib/nvidia-340 with the correct driver version (e.g. 330, 350 etc..).
We suggest to create a bash executable meshroom.sh in the root of the meshroom folder to ease the task:
#!/bin/bash

# this should point to the installation folder of AliceVision, for the pre-built binaries
# it would be the full path to the folder aliceVision
export ALICEVISION_INSTALL=/path/to/aliceVision

# if you are using the plugins, here list all the paths to find them
#f or the pre-built binaries it is the full path to the folder qtPlugins/qml/
export QML2_IMPORT_PATH=/path/to/qmlAlembic/build/install/qml:/path/to/QtAliceVision/build/install/qml:/path/to/QtOIIO/build/install/qml/:$QML2_IMPORT_PATH

# location of the sensor database
export ALICEVISION_SENSOR_DB=${ALICEVISION_INSTALL}/share/aliceVision/cameraSensors.db

# adjust according to your driver and cuda version
export LD_LIBRARY_PATH=${ALICEVISION_INSTALL}/lib:/usr/lib/nvidia-384:/usr/local/cuda-8.0/lib64/:$LD_LIBRARY_PATH

# the meshroom path (the current directory)
export MESHROOMPATH=$PWD

# this line launch whatever script and relevant options that are given as input ($@)
PYTHONPATH=${MESHROOMPATH} PATH=$PATH:${ALICEVISION_INSTALL}/bin python ${MESHROOMPATH}/$@
Then you can also create an executable meshroom_ui.sh to launch the GUI:
#!/bin/bash
./meshroom.sh meshroom/ui $@
Don’t forget to make the two files executable:
chmod +x meshroom.sh meshroom_ui.sh
Launch the User Interface
To launch the user interface simply use the previous shell script:
# launch the gui
./meshroom_ui

# launch the gui with e.g. a given Project
./meshroom_ui --project myProject.mg

# launch with --help for the list of supported parameters
./meshroom_ui --help
Launch a batch reconstruction
You can just execute a project or launch a reconstruction without the graphical interface.
This can be done using the python scripts meshroom_compute and meshroom_photogrammetry.
Similarly to meshroom_ui.sh you can create shell scripts for meshroom_compute.sh and meshroom_photogrammetry.sh, replacing meshroom/ui with bin/meshroom_compute and bin/meshroom_photogrammetry, respectively:.
For meshroom_compute.sh
#!/bin/bash
./meshroom.sh bin/meshroom_compute $@
and for meshroom_photogrammetry.sh
#!/bin/bash
./meshroom.sh bin/meshroom_photogrammetry $@
Again, pass the parameter --help to list the documentation and the list of parameters.